Transforming a bedroom into a personal sanctuary often requires thinking beyond traditional décor, and one of the most enchanting ways to achieve this is by installing a starry ceiling that replicates the beauty of a night sky. This home improvement project combines creativity with practical DIY skills, offering a unique opportunity to bring the cosmos indoors. Whether you seek a calming retreat or a conversation piece, a fibre optic star ceiling can elevate your space with minimal ongoing maintenance and impressive visual impact.
Planning your starry ceiling project
Before diving into the installation process, careful planning is essential to ensure your starry ceiling meets both your aesthetic vision and practical needs. The first step involves understanding the scope of the project, including the size of your bedroom and the specific effect you wish to create. Some homeowners prefer a subtle scattering of stars, while others might envision a dense constellation that mimics the Milky Way. Considering the overall theme of your bedroom will help guide these decisions, as the starry effect should complement existing décor rather than overwhelm it. Taking measurements of the ceiling area and noting any obstacles such as light fixtures or ventilation units will also streamline the planning phase.
Another critical aspect of preparation is deciding whether to undertake the project independently or seek professional assistance. DIY kits have become increasingly popular, particularly among enthusiasts who enjoy hands-on projects but lack extensive electrical backgrounds. These kits typically feature plug-and-play components that simplify the installation process, making it accessible to a broader audience. For those seeking more intricate designs or larger installations, professional services may be the better option, though they come with a higher price tag. Establishing a budget early on will help narrow down these choices and ensure the project remains financially manageable.
Choosing the Right Materials and Tools for Your Starry Sky
Selecting the appropriate materials is fundamental to achieving a convincing starry ceiling effect. Fibre optic star ceiling kits are the most common choice for this type of project, as they use fibre strands paired with LED lighting to create realistic twinkling effects. These systems are designed to mimic the appearance of distant stars, offering a range of customisation options such as brightness levels and colour variations. LED lighting solutions are particularly advantageous due to their longevity, with many units boasting lifespans of over 50,000 hours. This durability translates to years of use with minimal maintenance, requiring only occasional dusting to keep the system in optimal condition.
When exploring available kits, it is worth noting that basic DIY options can start at a few hundred pounds, making them an affordable entry point for many homeowners. More advanced systems with custom designs or professional installation services can range from one thousand to over ten thousand dollars, depending on the complexity and scale of the project. Companies such as WDM Lighting are recognised leaders in this field, offering a variety of solutions from straightforward DIY kits to bespoke installations tailored to individual specifications. Their headquarters are located at 150 Express Street in Dallas, Texas, and they can be reached by phone at the number ending in 1855 during business hours from Monday to Friday, nine in the morning until six in the evening.
In addition to the fibre optic kit itself, you will need a selection of tools to facilitate the installation. These typically include adhesive or mounting hardware for securing ceiling panels, cable management clips to organise fibre strands, and basic hand tools such as screwdrivers and measuring tape. If your ceiling requires preparation work, such as filling cracks or applying a fresh coat of paint, you may also need sandpaper, filler, and brushes. Ensuring you have all necessary materials on hand before beginning the installation will help the process proceed smoothly and reduce the likelihood of delays.
Assessing your bedroom space and design preferences
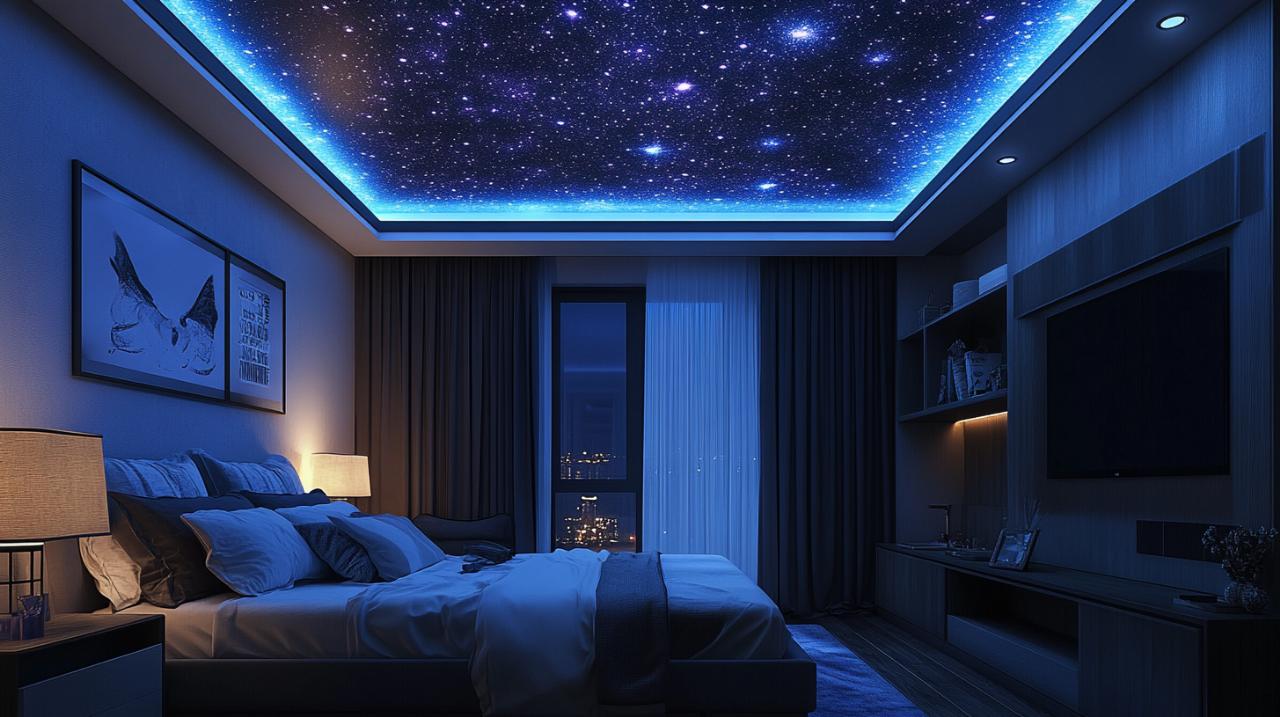
Understanding the unique characteristics of your bedroom is crucial to creating a starry ceiling that enhances rather than detracts from the space. Consider the height of your ceiling, as this will influence both the installation method and the overall impact of the starry effect. High ceilings may benefit from a more dramatic arrangement of stars, while lower ceilings might require a subtler approach to avoid overwhelming the room. The colour of your ceiling also plays a role, as darker shades typically provide a more realistic backdrop for the illuminated stars, enhancing the contrast and depth of the effect.
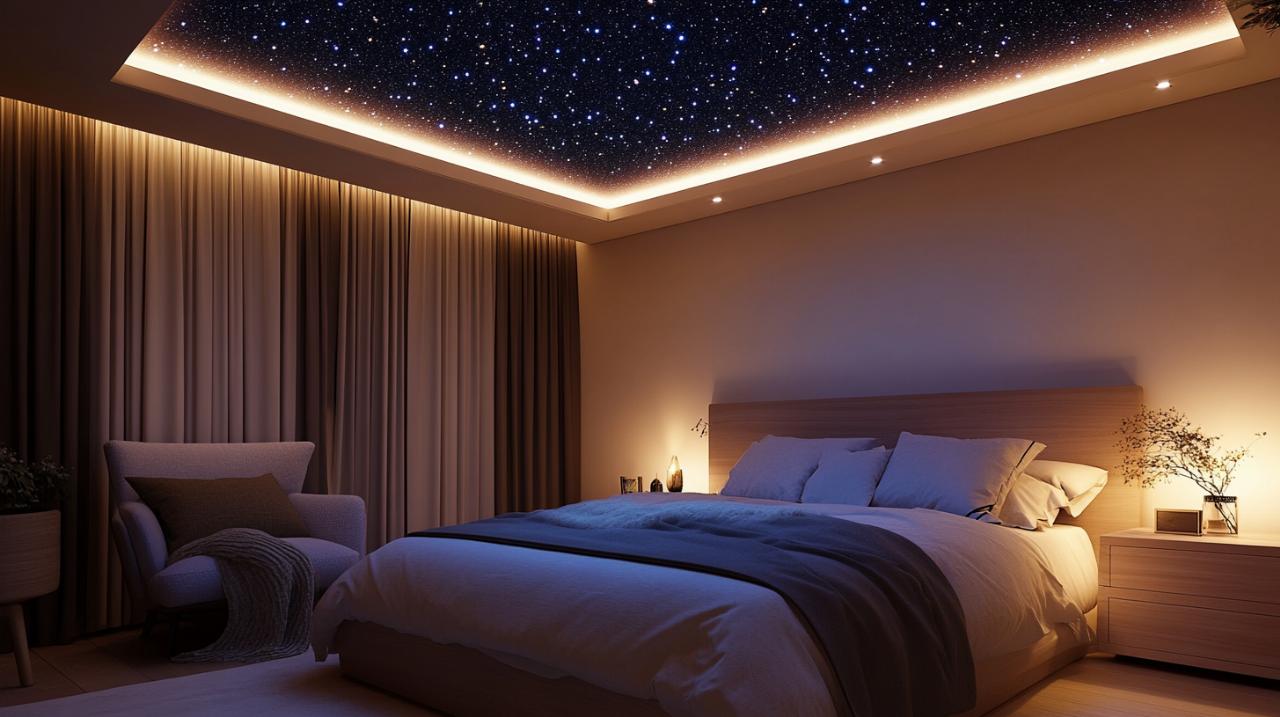
Your personal design preferences should guide the layout and density of the stars. Some individuals prefer a random scattering that mimics the natural distribution of stars in the night sky, while others might opt for recognisable constellations or patterns that hold personal significance. Custom designs are available through providers like WDM Lighting, allowing you to tailor the installation to reflect your unique taste. It is also worth considering the intended atmosphere of the bedroom, as a dense star field might create a sense of wonder and tranquillity, whereas a sparser arrangement could offer a more understated elegance.
Safety is another important consideration, particularly if you plan to install the system in a bathroom or other moisture-prone area. Modern fibre optic systems are generally safe for such environments, as they do not generate electricity or heat on the ceiling surface itself. The light source is housed separately, reducing the risk of electrical hazards. Nevertheless, it is advisable to verify that any kit you purchase is explicitly rated as bathroom safe if you intend to use it in these conditions. Taking the time to assess these factors thoroughly will ensure your starry ceiling project is both beautiful and functional.
Creating your celestial ceiling step-by-step
Once the planning phase is complete and all materials are gathered, the actual installation can begin. This process involves several key stages, each of which requires attention to detail to achieve the best results. Starting with proper preparation of the ceiling surface and progressing through the mounting of panels and connection of fibre strands, each step builds upon the previous one to create a cohesive and visually stunning effect. While the installation may seem daunting at first, breaking it down into manageable tasks can make the project more approachable and rewarding.
Preparing the Ceiling Surface for Your Starry Installation
The foundation of any successful starry ceiling project lies in the preparation of the ceiling surface. Begin by thoroughly cleaning the area to remove dust, cobwebs, and any other debris that could interfere with adhesion or the appearance of the final result. If the ceiling has any cracks, holes, or uneven patches, these should be addressed before proceeding. Use filler to smooth out imperfections, allowing it to dry completely before sanding the surface to create an even finish. This step is particularly important if you plan to mount ceiling panels, as an irregular surface can compromise their stability and the overall aesthetic.
Once the ceiling is smooth and clean, consider applying a coat of paint to enhance the effect of the stars. Dark colours such as deep blue, charcoal, or black are ideal, as they provide a night sky backdrop that allows the illuminated fibre strands to stand out more vividly. Allow the paint to dry fully before moving on to the next stage of installation. If you are working with a textured ceiling and prefer not to alter it, ensure that any mounting hardware or adhesive is compatible with the existing surface texture. Proper preparation at this stage will significantly impact the ease of installation and the longevity of your starry ceiling.
Installing your starry effect: techniques and tips
With the ceiling prepared, the installation of the starry effect can begin. Start by laying out the installation layout according to the design you have chosen. Many DIY kits include pre-drilled ceiling panels that simplify this process, as they come with holes positioned to accommodate the fibre strands. These panels are mounted to the ceiling using adhesive or screws, depending on the kit and the ceiling material. Take care to align the panels correctly, ensuring they are level and securely attached. This foundational step is critical, as any misalignment will be visible once the system is activated.
After the panels are in place, the next task is to thread the fibre strands through the designated holes. This can be a time-consuming process, particularly for larger installations, but the result is well worth the effort. Each strand should be inserted firmly and trimmed to the appropriate length to ensure the stars appear at the desired intensity. Some kits include twinkling effects, which are achieved by varying the light intensity through the fibres, creating a more dynamic and lifelike representation of a starry sky. These effects are controlled by the LED light source, which is typically housed in a separate, easily accessible location for maintenance and adjustments.
Connecting the cables and ensuring proper electrical safety is the final major step in the installation process. DIY kits are designed with plug-and-play components that eliminate the need for complex wiring, making them suitable even for those with limited electrical experience. However, it is still important to follow the manufacturer's instructions carefully to avoid any issues. Once all connections are secure, test the system to ensure all stars are illuminating correctly and that any twinkling effects are functioning as intended. If any adjustments are needed, this is the time to make them before completing the installation.
Ongoing maintenance for a fibre optic star ceiling is minimal, which is one of its most appealing features. The LED lighting solutions used in these systems are designed to last for tens of thousands of hours, meaning they will provide years of service with little intervention required. Periodically dusting the ceiling surface and checking the connections to ensure everything remains secure is typically all that is needed to keep the system in excellent condition. This low maintenance requirement makes starry ceilings an attractive option for homeowners seeking a decorative lighting solution that combines visual impact with practicality.
For those interested in learning more about home improvement projects or seeking inspiration for their next endeavour, resources such as maderascovelo.es offer a wealth of information on a variety of topics. Whether you are a seasoned DIY enthusiast or embarking on your first major project, the journey to creating a starry ceiling is one that promises both creative satisfaction and a transformed living space.